The Six-Step Firing Loop
Every target in Iron Nest follows the same six-step cycle. Learn this loop and you know how to play:
- Read the order — the High Command typewriter prints your mission; the Field Intelligence typewriter prints recon reports and spotter calls.
- Triangulate on the map — at the War Table (tactical map), measure and plot the target using the triangulation tools. This gives you a bearing and a range.
- Calculate the solution — feed distance, bearing, shell type, and powder charges into the ballistic calculator to get your elevation angle.
- Load — pick a shell type, push it into the breech, add powder bags, and ram it home.
- Aim — rotate the turret to the bearing and set the barrel elevation.
- Fire — arm the left and right cannons, throw the five switches, and pull the central handle.
The triangulation and calculation steps are where most players get stuck — see the Triangulation guide and the Powder Charges guide for the details.
Your Turret Stations
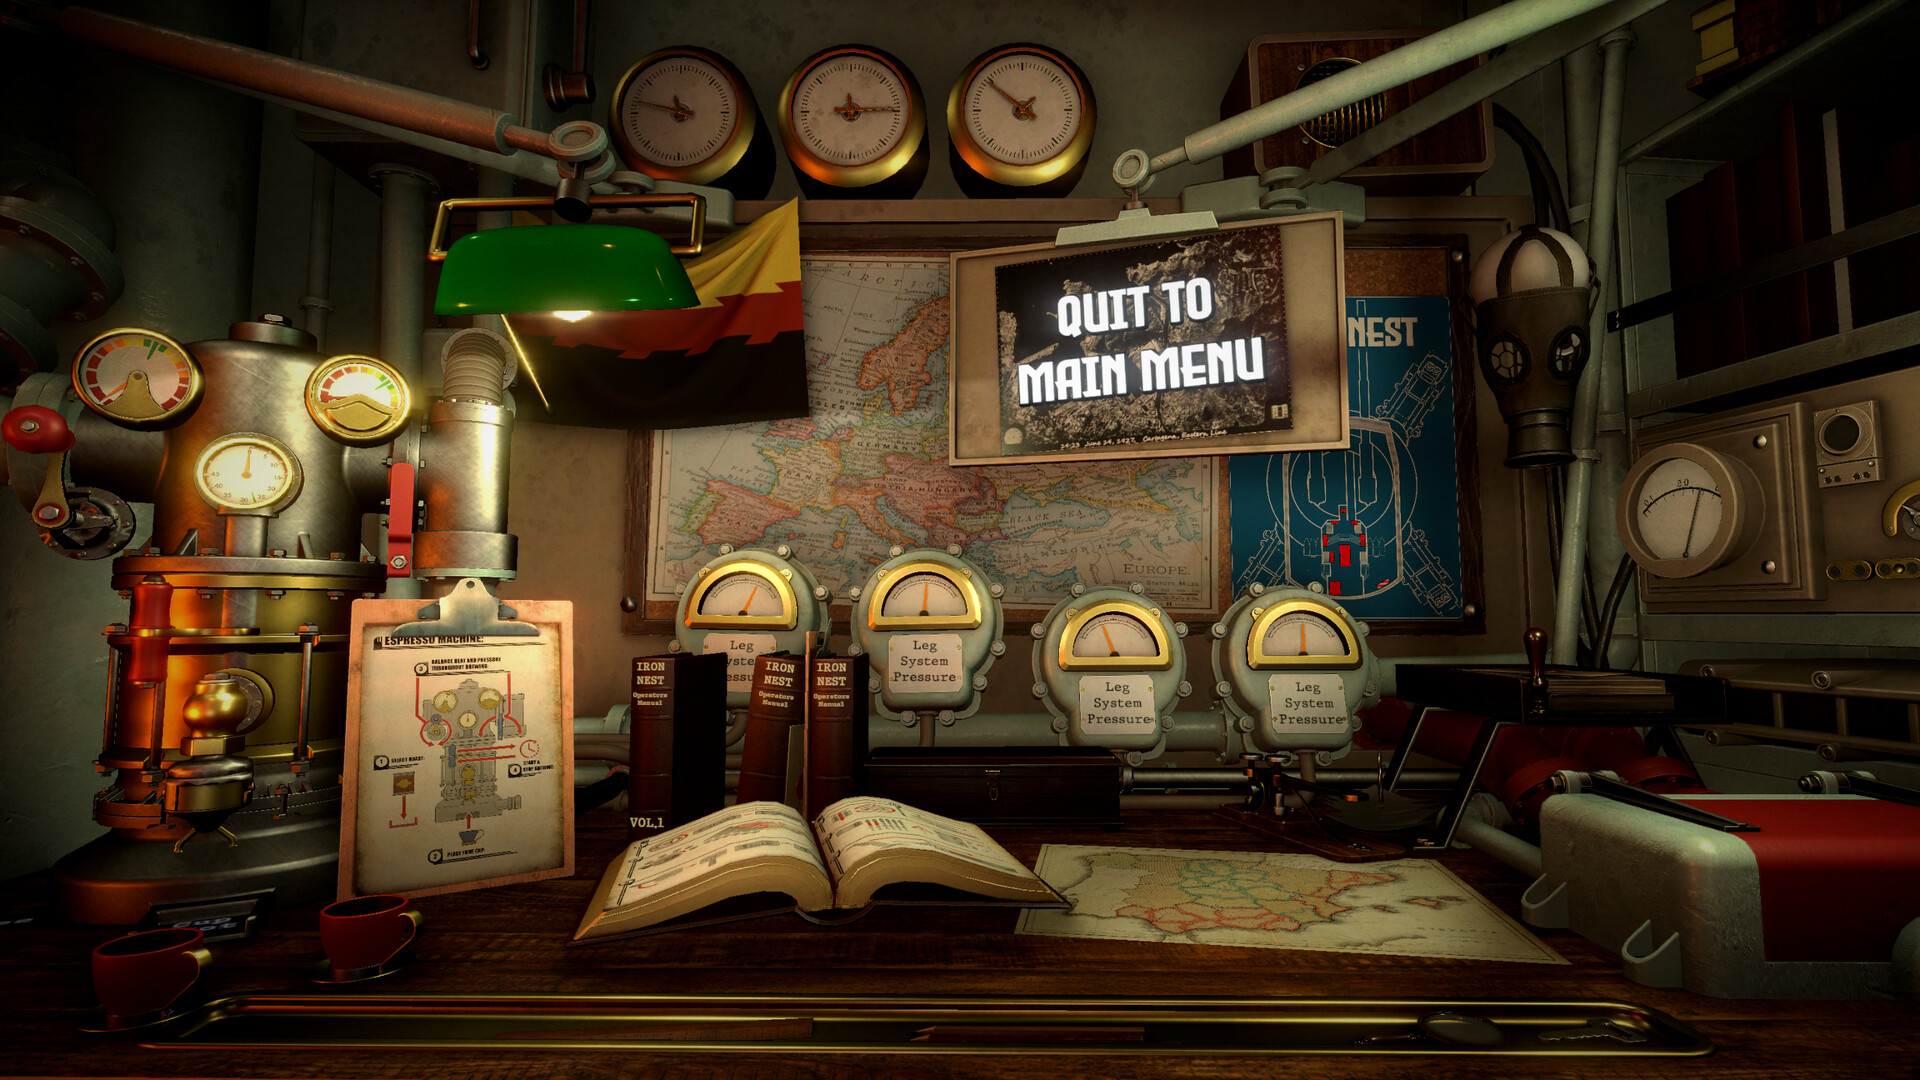
The Iron Nest is a single room full of stations you physically walk between:
- High Command typewriter — mission orders.
- Field Intelligence typewriter — recon reports and spotter bearings.
- Clipboard — recorded measurements.
- War Table — the tactical map where you triangulate.
- Ballistic calculator — converts range/bearing/charges into elevation.
- Loading station — shell selection, powder bags, ramming.
- Turret rotation and elevation controls — aim the guns.
- Trigger station — arm and fire.
- Quartermaster — buy shells and recon.
- Comms terminal, hydraulics, diesel generator, weather gauges, and the warhorn.
Getting Started Right
- Don’t skip triangulation. Guessing a bearing wastes shells and fails missions — plot properly first.
- Watch your ammo budget. Shells cost credits (RC); reloading the wrong shell wastes money you can’t always earn back.
- Use the right shell for the job. See the Ammo Types guide before firing blind.
- Count your powder charges. More charges = more range, but the formula matters — see Powder Charges.
- Expect friendly fire. Your own artillery can kill friendlies — see the Accuracy guide.
For the mission everyone gets stuck on, see the Phantom Battery walkthrough.