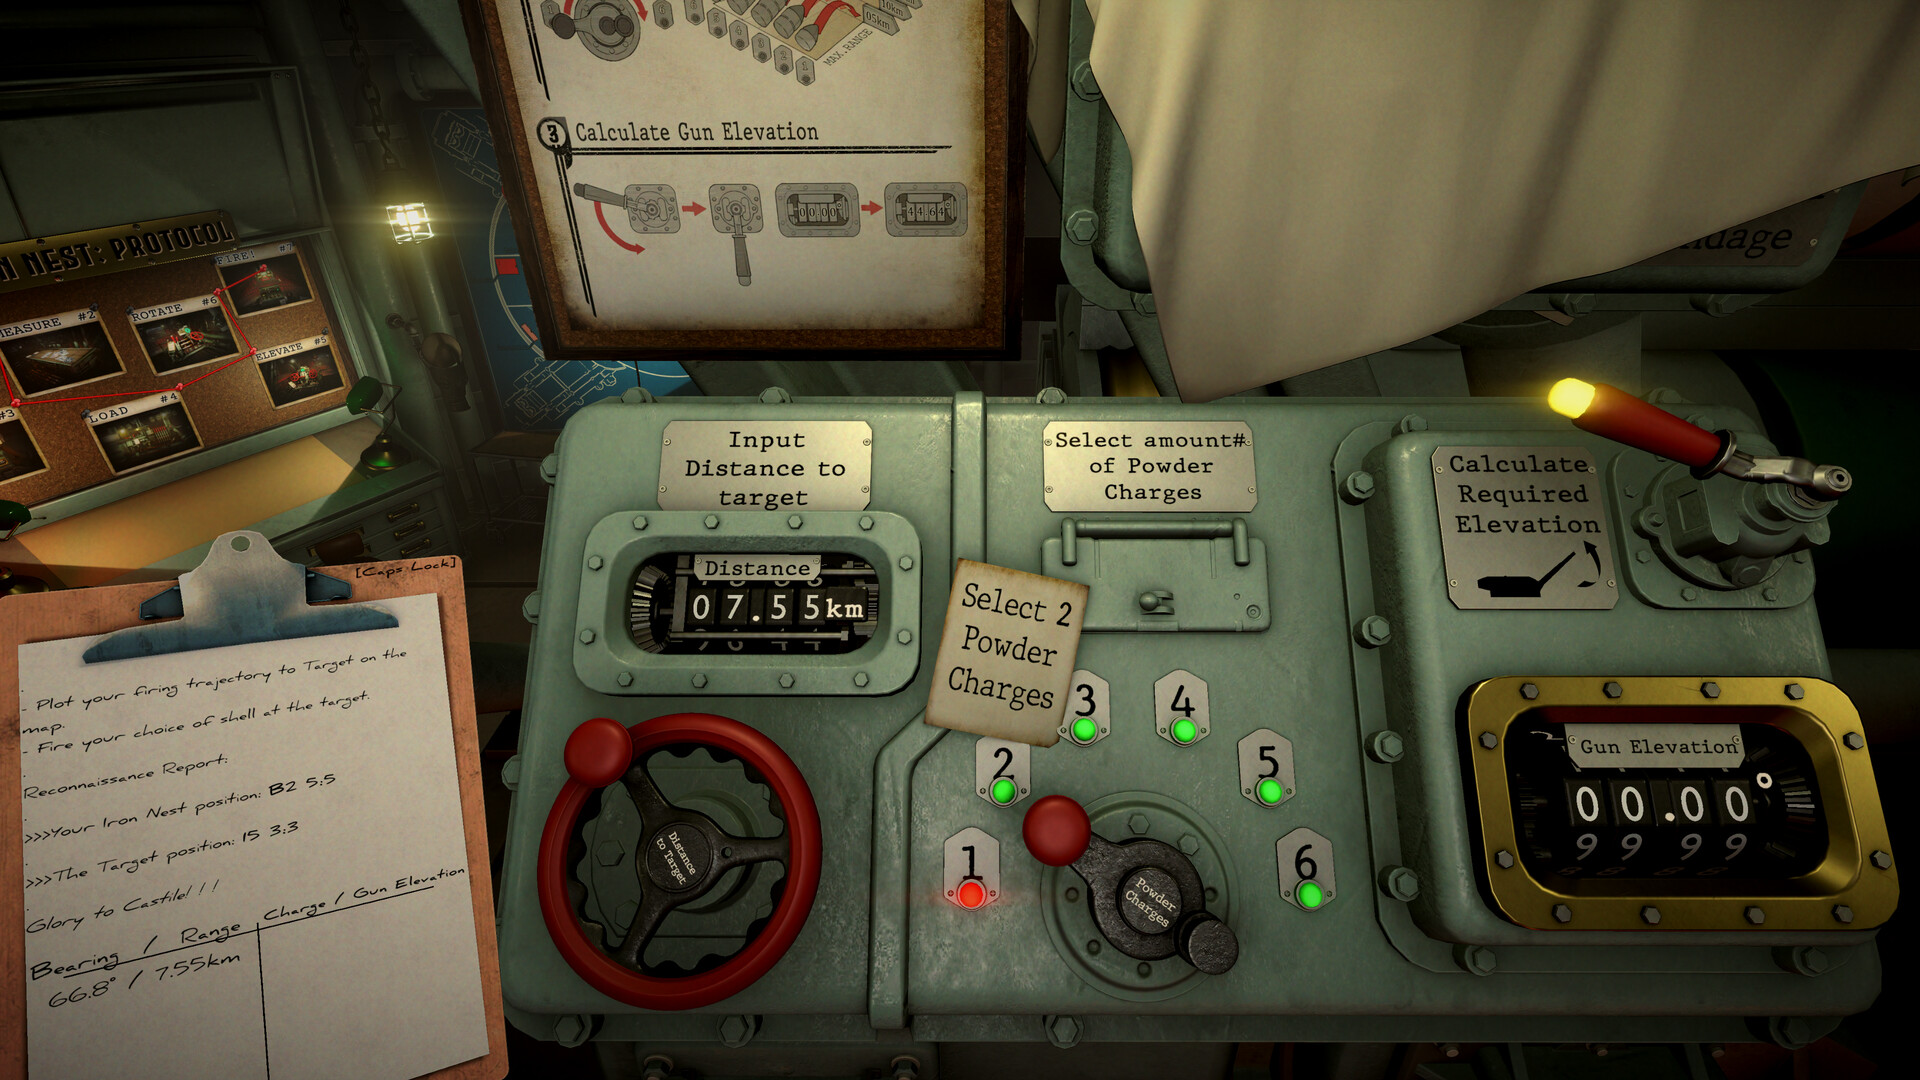
The Formula
Iron Nest uses one equation for every shell:
Elevation = range (km) × 12 ÷ number of powder charges
Each charge provides up to 5 km of maximum range, and the gun tops out at 60° of elevation.
How Many Charges to Load
Work backwards from the formula. For a target at 12 km:
| Charges | Elevation |
|---|---|
| 6 | 24° |
| 5 | ~29° |
| 4 | 36° |
| 3 | 48° |
| 2 | 60° (capped) |
As a quick rule of thumb:
- Short range (< 2 km) → 1–2 charges
- Medium range (2–4 km) → 3–4 charges
- Long range (> 4 km) → 5–6 charges
The exact number comes from plugging your triangulated range into the formula — don’t guess, or your shell lands short (see the Accuracy guide).
Cost & Lock-in
- Each charge costs 4 RC.
- You cannot unload charges once they’re loaded.
- Loading the wrong count wastes the round and the credits, so confirm your range before you reach for the powder bags.
Common Mistakes
- Loading maximum charges for a close target — the shell overshoots.
- Under-charging a distant target — the shell lands short.
- Forgetting charges are permanent — you can’t back out after loading.
- Confusing elevation with bearing — charges set elevation; the turret rotation sets bearing. They’re two separate steps.
For the full firing loop, see the Beginner’s Guide.